Deck Prep for Staining or Painting: A Local’s Guide
Ask any professional at D&R Painting & Construction, and they will confirm that flawless color begins well before the first brush touches wood. Actual deck prep for staining or painting is a layered process that addresses surface contaminants, moisture levels, and microscopic textures so coatings can bond for years rather than months.
Skimping on these early steps is like polishing a car without washing it first; the gloss looks fine for a moment, but quickly dulls as embedded grit works free. In Marietta’s humid summers and leaf-strewn falls, wood fibers swell, shrink, and host mildew colonies faster than in drier climates, which places extra importance on thoughtful preparation.
Homeowners who invest a weekend in strategic prep often double the life expectancy of their stain or deck floor paint, saving thousands on premature recoats.
Weather, Wood Species, and Foot-Traffic in Marrieta
Georgia’s subtropical environment delivers blazing sunlight, sudden thunderstorms, and high pollen counts that settle into wood pores. High foot traffic from barefoot afternoons, grilling nights, and holiday gatherings rub dirt into the grain, making adhesion harder unless these soils are fully lifted.
Recognizing these regional pressures helps you choose prep chemicals and drying schedules that suit local conditions rather than relying on generic advice from colder zones.
Common Mistakes: Skipping Cleaning, Rushing Dry-Time, and Ignoring Repairs
Many homeowners focus on color charts first, then rush to coat damp boards still dotted with algae or hairline cracks. Coating over dirt locks contaminants under the finish, creating weak spots of adhesion that peel within a single season.
Others assume a sunny day is dry enough. Yet, moisture meters frequently show readings above fifteen percent, far too wet for stain penetration, which explains why some fresh projects flake without obvious errors.
Finally, failing to tighten screws or replace splintered planks invites water intrusion beneath the film, where hidden decay accelerates.
Step 1: Inspect the Deck for Structural and Surface Issues
A successful project begins with a systematic walk-through that checks every board, fastener, and support post while daylight reveals flaws many owners overlook. Press a screwdriver into suspect areas along joists and stair stringers; spongy resistance signals decay. Tug each baluster to ensure rail safety. Scan for protruding nails that could catch a sander or foot. Identifying these hazards now prevents wasted labor and ensures coating integrity.
Small splinters shave clean with a sharp chisel, and popped screws tighten easily with corrosion-resistant replacements. But boards with end rot, deep cracks, or black fungal stains require complete replacement so that the stain soaks into healthy fibers rather than dead tissue. Replacing insufficient stock today costs less than stripping and re-staining an entire deck next year when damaged sections fail.
Step 2: Deep-Clean to Remove Dirt, Mildew, and Old Finishes
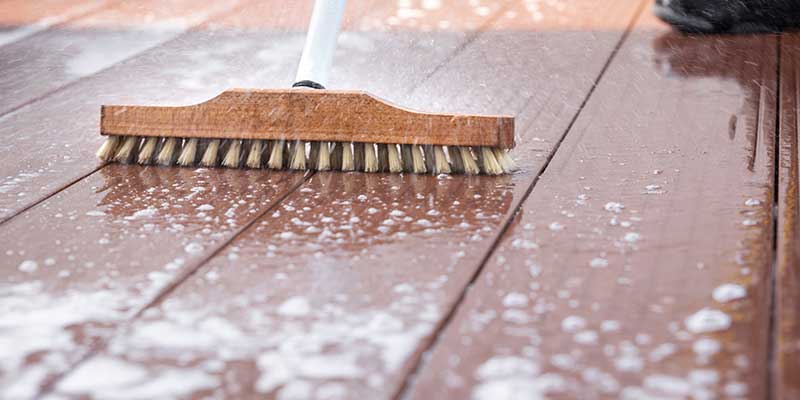
Effective cleaning is the cornerstone of any deck prep for a staining project because wood must be free of oils, pollens, and deteriorating sealers before new coatings can anchor. Oxygen-based cleaners lift organic grime without bleaching color, making them ideal for cedar trim or pine rails.
A follow-up brightener neutralizes pH and restores natural tone, critical for semi-transparent stains that rely on even coloration. If the deck sports an aging solid stain or paint over the deck that shows widespread peeling, a chemical stripper softens the residue so a pressure wash can rinse it away thoroughly. Understanding how to clean decks before staining guides you toward the correct product and prevents harsh chemicals from damaging surrounding landscaping.
Safe PSI Settings and Spray Patterns for Pressure-Washing Without Gouging
Set your washer between five hundred and twelve hundred PSI for softwoods, use a forty-degree fan tip, and keep the wand at least twelve inches from the surface. Work with the grain in smooth, even passes. Higher pressure or narrow turbo nozzles can scar fibers, forcing you to sand deeper later, so patience saves labor.
Step 3: Address Moisture and Dry-Time Requirements
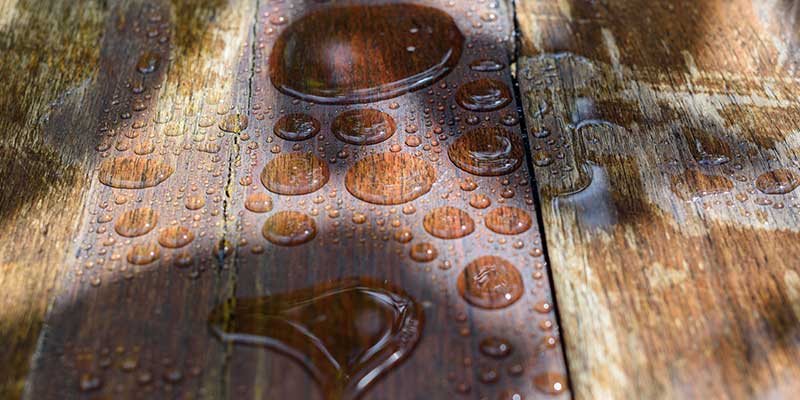
Even immaculate boards can reject stain if internal moisture pushes the finish outward during curing. Insert prongs into shaded deck boards and look for readings below fifteen percent. After cleaning, allow at least forty-eight hours of dry weather, more if nighttime dew persists. Moisture meters under thirty dollars guarantee that invisible water won’t sabotage adhesion.
Target daytime highs between fifty and eighty-five degrees with mild humidity. In Marietta’s summer heat, schedule work for early mornings when boards are cool and pores receptive. Avoid coating under direct midday sun; solvent flashes off too quickly, leaving pigments atop the surface rather than in the grain.
Step 4: Sanding Techniques for Smooth, Absorbent Surfaces
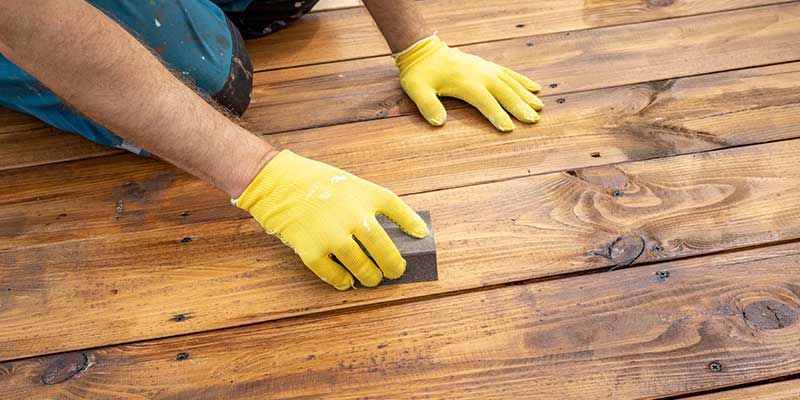
Cleaning raises wood fibers; sanding knocks them flat so stain spreads evenly and paint flows without lap lines. Begin with sixty-grit on floorboards to remove raised grain, then transition to eighty-grit where boards meet to blur potential sander marks. Handrail caps benefit from one-hundred-twenty-grit to prevent splinters on gripping surfaces.
Vacuum thoroughly, then wipe with a slightly damp microfiber cloth. Tack cloths remove the final fine dust that hides in knots.
Step 5: Masking and Protecting Surrounding Areas
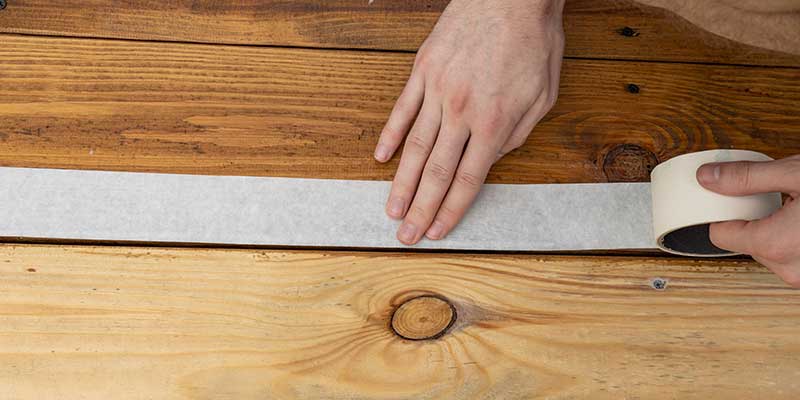
Coatings drift farther than you think; preparation protects siding, foliage, and furniture from accidental overspray. Canvas drop cloths shield shrubs while allowing airflow to prevent heat buildup. Pin them tight under the rails so the wind cannot blow them loose. Rest the top edge against house siding to catch drips from over-zealous back-brushing.
Using Painter’s Tape on Metal Flashing, Light Fixtures, and Hardware
Quality exterior tape withstands UV for several days without leaving adhesive. Seal fixtures and door thresholds where stain would compromise finishes. Removing tape while coatings remain slightly tacky ensures crisp lines without pulling film.
Step 6: Choosing Between Stain and Paint Based on Deck Goals
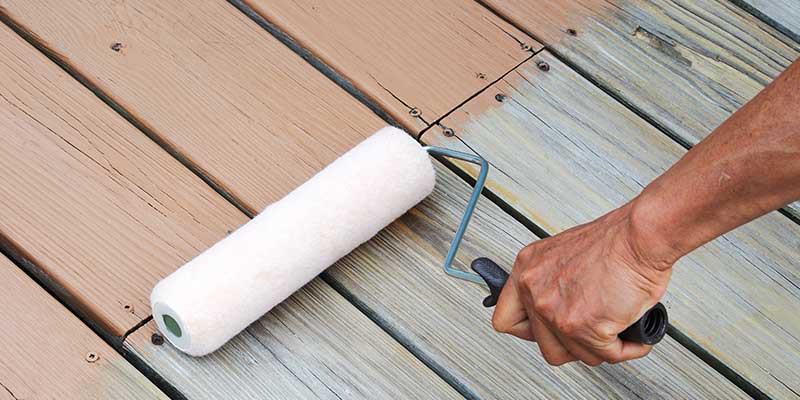
Color preference drives many choices, yet performance profiles differ dramatically between penetrating stains and film-forming paints.
Oil-based stains highlight grain, penetrate deeply, and wear by gradually fading, but solid-color acrylic stains offer bolder hues while still soaking enough to resist peeling. Actual deck floor paint forms a thicker shell that hides grain and excels at covering repaired boards, but it risks flaking if prep is incomplete or moisture rises from beneath.
Deep browns and warm reds resist UV fade better than vibrant blues or greens, regardless of product type. Oil stains on horizontal surfaces may require touch-ups every two to three years; high-build paints can sustain color for five years but demand complete prep when they finally erode.
Step 7: Application Best Practices for Lasting Results
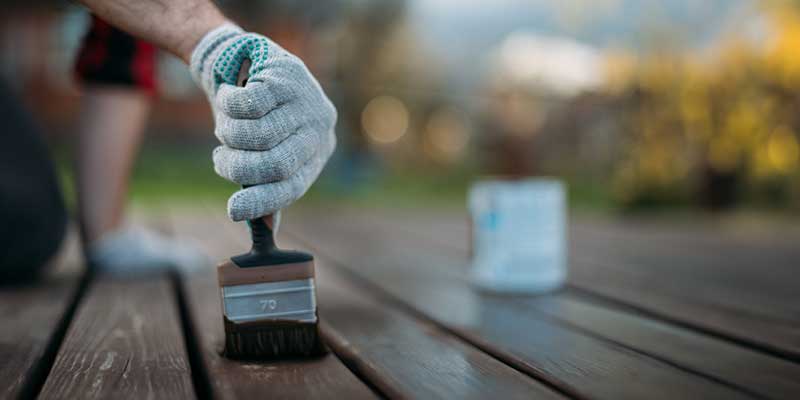
Technique transforms prep work into a showroom finish. Brushes drive stain deep into the end grain, rollers speed application across large surfaces, and airless sprayers coat balusters quickly yet require immediate back-brushing to distribute pigments evenly. Most pros combine these methods: spray or roll broad areas, then brush to work the finish into the pores.
Stain dries fast in Georgia’s heat, so coat three to four boards the full length at a time, then return to smooth overlaps. Back-brushing evens color and prevents lap marks. Avoid heavy build; two light coats outperform one thick layer by curing thoroughly and minimizing film stress.
Maintenance Plan After Staining or Painting
The work isn’t over once brushes are cleaned; routine care prolongs beauty and protection. Rinse pollen every spring and sweep leaves each fall. Spot-treat grease stains near grills before they penetrate. Inspect annually for worn traffic lanes; a quick maintenance coat there can forestall complete deck prep for staining for several years.
If water no longer beads, pigment looks washed-out, or small flakes appear at board joints, schedule a light clean and single-coat refresh.
Prep Like a Pro for a Deck That Turns Heads and Lasts
Preparation is the key behind every stunning deck makeover. Whether you crave the natural warmth of stain or plan to paint over deck boards for a modern color splash, disciplined deck prep for staining or painting is crucial.
D&R Painting & Construction brings decades of staining decks tips and regional expertise to every project. From moisture testing to the final brushstroke, our team tailors each step to Georgia’s climate.
Contact us today and let our professionals turn your deck into your desired outdoor centerpiece.

